
Sub-Total: $0.00
Bacteria Surface Swab Test
For leaks, sewage backups, cleanup checks, and contamination concerns.
Description
Use this when a surface may have been affected by water damage, sewage, spills, contamination, or cleanup. A surface may look clean while still leaving questions behind.
How to Test
Put on the included sterile gloves and face mask. Swab the area of concern as back and forth covering the entire swab, return the swab to the tube, label the sample, and submit it for certified laboratory analysis.
Each HomeSwab™ kit is designed to make testing less intimidating while providing the highest level of certified results. You do not need to be a scientist or environmental consultant to collect a sample. The HomeSwab kit gives you the protective items, simple instructions, and a clear process for submitting the sample for certified laboratory analysis.
The result is not a guess based on appearance. It is written information from a laboratory that can help you decide what to do next, whether that means cleaning, repairs, additional professional evaluation, communication with a landlord, or documentation for an insurance related concern.
Every Kit Includes
Sterile hospital-grade gloves
Helps keep collection cleaner and gives customers a more confident sampling experience.
Protective face mask
Included so customers can take basic protection steps while collecting samples around suspect areas.
Clear step-by-step instructions
Written for everyday homeowners, not scientists, so the collection process feels simple and manageable.
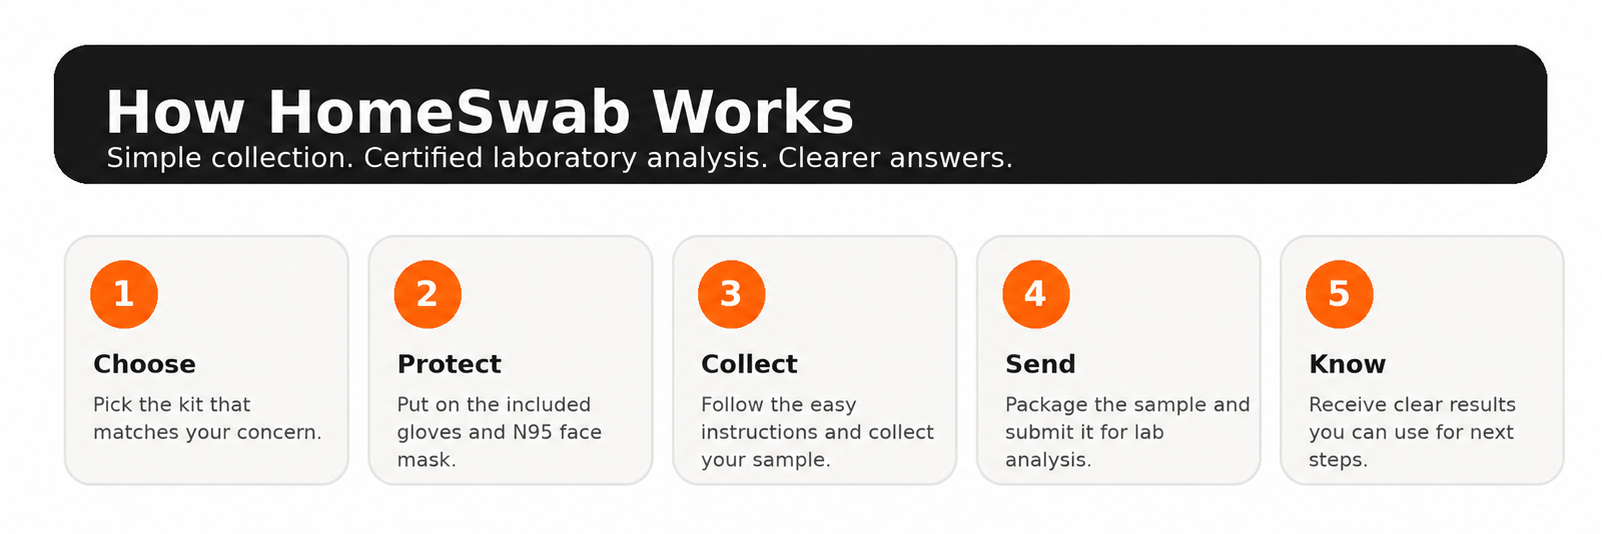
1. Choose the kit that matches your concern
Start with what you are seeing, smelling, or wondering about. Suspicious growth, musty air, older materials, water concerns, and invisible hazards all point to different HomeSwab™ kits.
2. Open your kit and protect yourself
Every HomeSwab™ test kit includes a set of sterile hospital-grade gloves and an N95 face mask. Put them on before collecting your sample, especially when working around dusty, damp, damaged, or suspicious materials.
3. Follow the instructions and collect the sample
Each kit includes simple directions that walk you through the collection process. The goal is to collect a useful sample while keeping the process clean, organized, and easy to understand.
4. Package and submit the sample
After collection, place the sample in the proper container or packaging provided with the kit and follow the return or submission instructions for certified laboratory analysis. Ship via the carrier of your choice USPS, UPS, FedEx, Ect.
5. Receive results and decide your next step
Your results help replace guessing with information. Use them to decide whether cleaning, repair, professional evaluation, landlord communication, insurance documentation, or additional testing may be needed.